


 Gardens Alive! & Supplies


PULVERIZE Your Garlic!
-
Helpful Products from Gardens Alive!
-
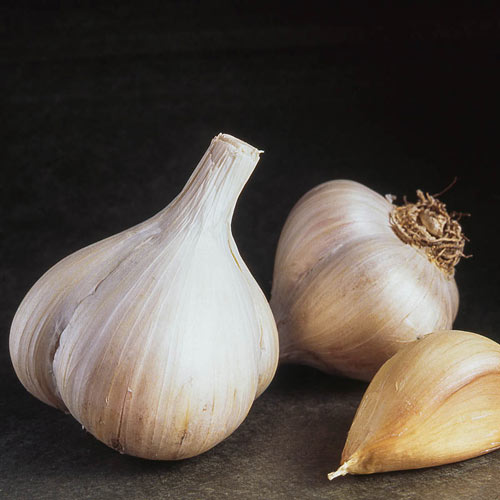 German Red Garlic (Hardneck)
 -
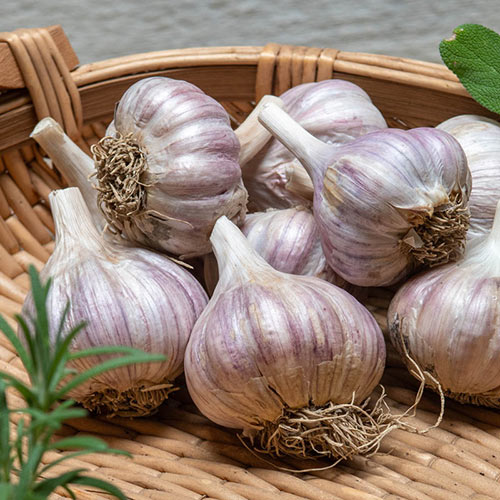 Deerfield Purple Hardneck Garlic
It has been well-established that I am ga-ga over hardneck garlic. The colors! The flavors! The complete lack of vampires in my house! But, as I acknowledged in last week's thrilling episode, it does not store well; you're lucky if a harvested crop doesn't start resprouting by September. And as soon as those little green spikes appear in the center of a clove, the flavor begins to change; and not for the better.
That's a VERY short window of fresh garlic goodness, which leads some people to turn to preservation techniques. A popular but ill-advised example is to place individual cloves in a jar filled with olive oil, which sounds like a good idea until you realize that the risk of botulism is fairly high with this and other not-really-preserved adventures. (Professionally made 'garlic in oil' products have been...well, professionally made to avoid this extremely nasty danger.)
Then there's 'black garlic', the product of placing whole garlic bulbs in a hot and humid environment for anywhere from a couple of weeks to three months to induce a form of fermentation via the Maillard ('my yard') Reaction, a process used to brown and caramelize many foods. During this process, the garlic is said to lose most of its original flavor and acquire dozens--maybe hundreds--of new flavors, with hints of sweetness, acidity and umami.
The site WebMD heaps praises on the positive health benefits of black garlic, citing its higher level of antioxidants and ability to help fight off cancer (especially colon cancer), dementia, Alzheimer's disease, liver problems, high cholesterol and triglycerides, to name a few. They also have the simplest and most straightforward recipe for doing it yourself. Here's a link to all this info.
And, since I still have a bunch of unbroken heads, I may try it myself!
But as fascinating as this subject seems, it's not a solution to our storage problem, so it's back to the alleged topic for today!
To re-cap last week's diatribe: Harvested garlic should have big fat bulbs covered by a paper-like wrapper. It should be cured for about two weeks in a cool dry location out of the sun, turned frequently and enjoy exceptional air circulation (under a ceiling fan or in the path of a regular oscillating fan would be ideal.
About a week after its done curing, brush the dirt off the bulbs and go to work, sliding your thumb nail in between the individual cloves and 'working' the bulb until you can easily separate the cloves without damage. Don't worry if the outer skin comes off a few cloves; just set them aside for cooking or grinding. Same for small cloves; we're after the big ones right now.
Figure out how many cloves you want to plant this fall for next year's harvest and set aside the biggest ones for this replanting. Once you have the number of big cloves you want, stop cracking the bulbs apart for awhile while you figure out whether to gift some or try to make black garlic. (Don't use cloves to make garlic infused vinegar. As the Master of Pocono Garlic Production, the late Frank Pollack explained, he used only the green leaves from his harvested garlic to make his legendary concoction.)
When you're sure you have your crop all divvied up, separate out the cloves from the remaining heads and set aside the largest ones. If any are bigger than your planting horde, swap them out. Always plant your largest cloves!
You need a food dehydrator for the next step. (Borrow one if you have to. Or if you have one of them fancy air fryers, see if it has a dehydration setting.) Slice off the root portion of your cloves and remove the wrapper. Rubbing it around in a bowl of water makes this easy. Then slice the cloves into chunks and place them on one of the drying racks.
Depending on the device, the chunks should be good and dry in a few days. Make sure they are bone dry; if any feel a little squishy, keep drying.
Place some of the chunks in glass jars with a few of those desiccating pouches that come in bottles of vitamins and such, tighten the lid and store in a cool, dry, dark place. Like whole coffee beans. You'll grind these later for freshness.
Select a clean spice jar with a shaker lid insert, remove the insert, and drop in a couple of them desiccating things. Then grind up some dry cloves in a dedicated coffee grinder that has never been used for coffee. (Buy a cheap one or make a lucky find at a flea market or thrift store.) Grind your garlic into a powder, use a little funnel to get it all in the jar, replace the insert, tighten the lid and store on the Lazy Susan on your dining room table; out of direct sun. Then when you want to add garlic to a dish, just shake it on. The flavor is 147 times better than commercial garlic powder and will wow your guests. If you have a lot, label some for holiday gift giving.
And whenever you visit someone ask if they have any old outdated spice jars!
-
Helpful Products from Gardens Alive!
-
German Red Garlic (Hardneck)
-
Deerfield Purple Hardneck Garlic