


 Gardens Alive! & Supplies


Peas Please! They're the Perfect Cool Weather Crop
-
Helpful Products from Gardens Alive!
-
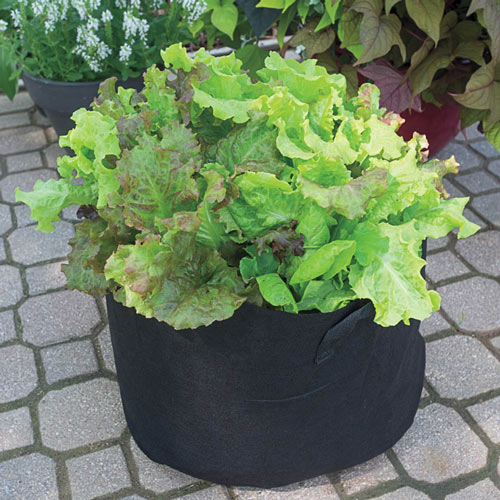 Grow Tub® 7 Gallon Garden Container
 -
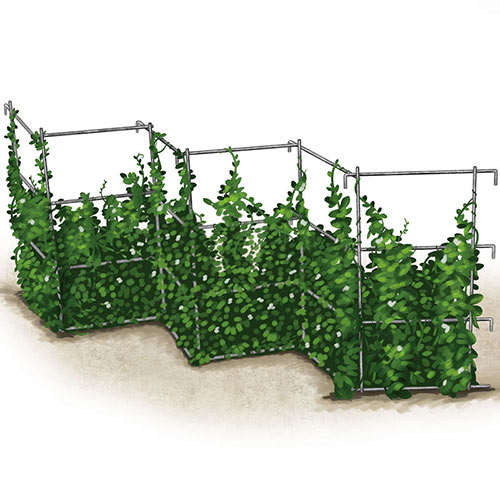 Pea Fence - Plant Trellis
 -
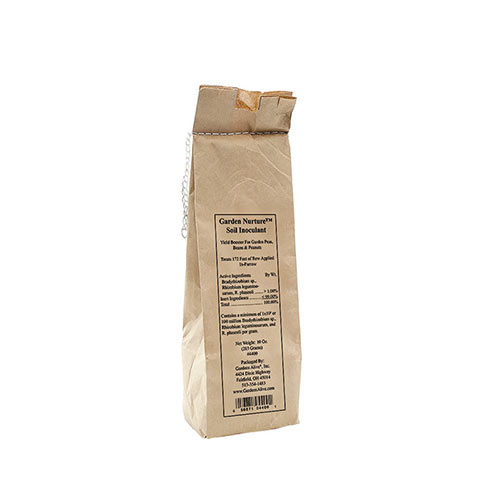 Garden Nurture Soil Inoculant Granules
Part Two of Our 'Organic Solution to Produce Price Inflation'
Peas are my favorite cool weather crop; crunchy, deliciously sweet, fun to grow and kids love them. My pair of hooligans liked snow peas so much growing up that there was little picking for me to do; although they'd let me have a few every once in a while.
Anyway: All types are cool weather lovers; they are often called "June peas" because the vines typically shrivel up and die from the heat in early July. Peas are one of the few crops that like a 'sweet' soil, which means slightly on the alkaline side; so dusting a little ash from a hardwood stove in their planting lanes is a good idea, especially if you live in a climate that generally has acidic soil. (Lots of rain = acidic soil).
All peas have the ability to "fix" Nitrogen from the air by way of a symbiotic relationship between their root system and specific strains of bacteria; providing 'free' Nitrogen to the plants for fast, strong growth. The right type of bacteria may already be in your garden, but using a fresh helping of 'pea and bean inoculant' will greatly improve your harvest.
This inoculant is widely available at independent garden centers and via seed catalogs. It generally comes in the form of a freeze-dried powder containing a bacterium specific to peas and beans.
The timing of pea planting is crucial. The average 'days to maturity' of most peas is around 60 days. You want to time your plantings to produce their first flush of sugary goodness around June 1st. That makes early April the ideal time to plant. Note: It may NOT be lucky to 'plant your peas on Saint Patrick's Day' if you live in a Mid-Atlantic type of climate, as St. Pat's Feast Day falls on March 17 this year and the soil may not be warm enough to allow Nitrogen fixation. It may even be frozen solid. Better to wait until April 1st (unless you want to risk being foolish).
Types of peas:
Snow peas: a favorite ingredient in salads and Chinese dishes that include mixed vegetables, you eat the slender treats pod and all. Pick early and often; don't let the seeds swell up inside the pod! (If you miss a few big ones, just zip the pods open and eat the peas inside.) Early and frequent picking maximizes the flavor and increases the yield.
Snap peas: A Southern favorite, these are a bit larger than snow peas but are still typically eaten pod and all, after you 'snap' off the top. Again, pick early and often. If a few get too big, just eat the peas inside, as the pod starts to get tough after too much time on the plant.
English ' peas' are left on the vine until the peas inside swell up nicely. Then you zip open the pod and eat the tender and sweet peas inside. They taste great raw, but a Springtime tradition is to cook them up with Spring onions (scallions with a small bulb underground). Generally served as a soup, you'll find hundreds of recipes online.
Note: The heavily scented flowering plant commonly known as "sweet pea" is NOT edible. In fact, it is poisonous. Unfortunately, it also has some botanical features that resemble real pea plants. All TRUE peas are edible, but ornamental 'sweet peas' are not.
Best as I know, all pea vines are 'self-supporting'; give them something to climb on and their talented tendrils will take care of the rest. But how high does this support need to be?
"Dwarf" snow peas (also known as 'bush' types) can be very tidy, depending on the variety. Even the shortest plants will produce full sized pods, and the shorter the vine, the easier it is for kids to reach the prize. Examine seed packets and catalog descriptions carefully, looking for the final height of the plant. If that info isn't there, search the variety name at other sources. If all else fails, turn to Google; search for 'final height of [variety name] pea'.
The same is true of snap and shelling peas. If the plant is supposed to get tall, grow it against fencing or purchase a 'real' trellis, which you'll also use for pole beans after the peas are fried and for next year's crops. True dwarf or 'bush' varieties can get by with one of those tiny old school tomato cages, but some shelling pea varieties need a TALL trellis.
No matter the type, pre sprout your peas by soaking them in water overnight and then wrap them in moist paper towels. Place in a Ziploc bag but don't zip it or the seeds inside may get moldy. Just leave the bags out at room temperature with the tops open. Check daily to make sure the peas inside are moist, but not sopping wet. Mist if dry. When you see wiggly little sprouts, it's go time.
Dig out lanes in a shape that will accommodate your trellises, dust some wood ash into the lanes, roll the damp seeds around in the inoculant and drop them into the lanes, a few inches apart. You can add more inoculant on top but save some for your bean crops. Refill the lanes with the soil you removed, then spread an inch of compost overtop for good luck. Don't add any Nitrogen-rich fertilizer; let the atmosphere handle that.
-
Helpful Products from Gardens Alive!
-
Grow Tub® 7 Gallon Garden Container
-
Pea Fence - Plant Trellis
-
Garden Nurture Soil Inoculant Granules