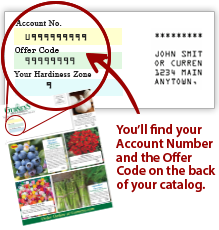


 Gardens Alive! & Supplies


How to Start Peas (& Beans) Indoors
-
Helpful Products from Gardens Alive!
-
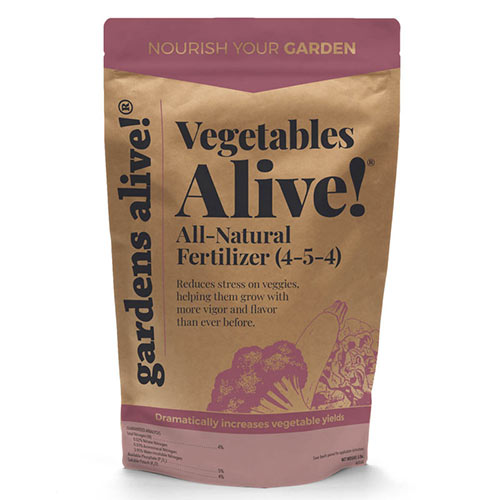 Vegetables Alive!® Fertilizer
Q. Jeanine writes: "We live in Washington state. When would be the best time to start planting snap pea and green bean seeds indoors to transplant outside later? And what is the best method to start the seeds?"
A: To quote the all-knowing Internet, "Washington growing zones are wide-ranging and can be anywhere from a frosty 4a to an almost tropical 9a, although much of the state (the Eastern half) falls into the range of 6a. Luckily we don't need to know Jeanine's exact location with these crops.
Both peas and beans are {quote} 'direct-sown' crops; meaning that most people plant the seeds right in the ground as opposed to starting them inside, like tomatoes and peppers. They are also both legumes, which means that if their roots come into contact with the right types of soil bacteria, they gain the ability to feed themselves with Nitrogen from the air, which is wicked cool. You can buy the correct bacteria (called a pea and bean 'inoculant') in powdered form at your friendly neighborhood garden center or online.
Peas are a cool-weather Springtime crop and beans are a warm-weather crop of the Summer, like them tomatoes and peppers we just mentioned.
Virtually all varieties of pea (snap, sugar, shelling, and snow) have an average 'days to maturity' rating of 60 days, which means that if you start them mid-March (like now) they'll have all of April and May to grow, with you getting all of June to pick and enjoy the crop before it burns up in the summer heat. (That's why they're called 'June peas'.)
Here in the East, many gardeners believe that planting peas on St. Patrick's Day is good luck; which it is not if there's still snow and/or frozen soil in your garden. St. Patrick's Day falls on March 17th this year, and if you can plant around that date, you might start picking your first peas in late May--if you cheat. Here's how.
Select the bed in which you will plant your pea seeds. Remove any mulch covering the soil to allow it to warm up faster. Then, do not start your pea seeds indoors the tomato and pepper way; instead, pre-sprout them.
About a week after you start warming the soil, take your pea seeds, which are big and easy to handle, and put them into Zip Loc bags with enough moist paper towels to cover all the seeds. Do not Zip the bags shut; just fold them over and place them out in the open in a warm room. Check the seeds daily. If there's no sign of moisture on the inside of the bag(s) add a little water, or even better, use a mister.
After five to seven days, you should see little white squigglies coming out of some of the seeds. Leave the bag wide open now to prevent mold, but keep misting gently. Then, when most of the seeds have nice sized squigglies and the soil outside is workable (as in not frozen) plant your pre-sprouted seeds. If you have the inoculant at hand, dust it into the planting holes or rows right with the seeds. Although the seeds would probably have rotted in the cold wet soil of Spring, the sprouted seeds (and the plants to come) don't mind cool weather; in fact, they require it.
Some varieties will have the word "bush" associated with their name; this means that the vines will top out at around two feet tall and require minimal support. If they don't say 'bush' they will need to be trellised or they'll collapse into an ungodly mess. Check the packet, seed catalog or website description for the final height of your specific variety; and respect it.
When the first pea pods appear, pick them as soon as they achieve a decent size. You eat snow peas and snap peas 'pod and all', so pick snow peas at any size; if you can see it, you can eat it. Pick snap peas a little larger, but don't let the seeds inside get too big. The smallest pods taste the best; and not allowing the seeds to get too big inside the pods means the plants will keep producing prodigiously.
"English" or 'shelling peas' are a little different. With this type you just eat the actual peas, so when the pods begin to swell, sample them daily. Zip off the handy string running down the side of the pod and savor the peas inside. When they get to be the size of the ones the Jolly Green Giant puts in those famous "Le Sueur" cans, begin seriously harvesting one of Springtime's tastiest treats. (Steamed peas served with garlic butter!)
When the vines start to shrivel and die, pick what's left and clear that bed for a new crop; like beans, which need no pre-sprouting because the soil is now nice and warm. The beans will be designated as 'bush' (well behaved) or 'pole' (requiring a sturdy trellis); again, respect the final height of your specific variety. Beans will persist until frost; as should you.
Self-supporting note: Even 'dwarf' size peas that top out as two or three feet tall would love some thin sticks to climb on. 'Regular' peas grow REALLY tall, so don't skimp on the height of their trellis.
-
Helpful Products from Gardens Alive!
-
Vegetables Alive!® Fertilizer